
The Process
Stage 1: Preparation
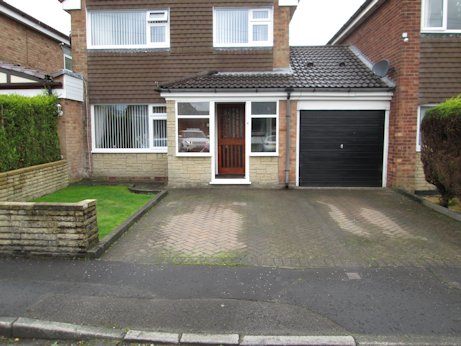
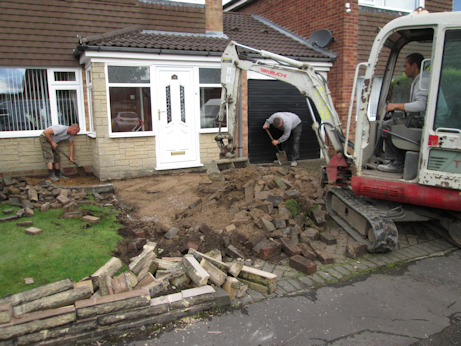
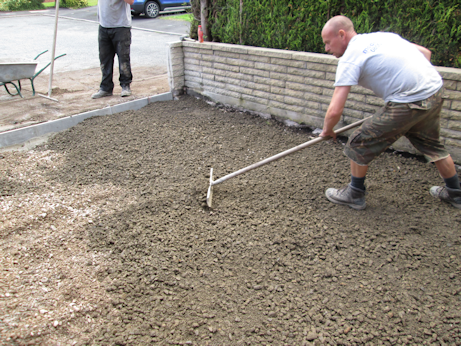
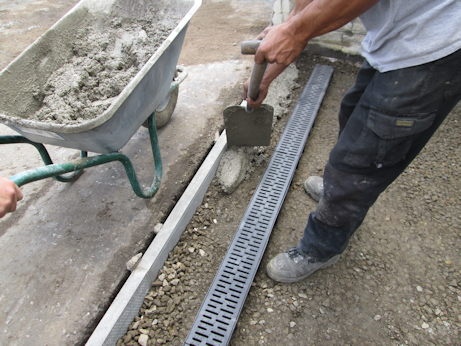
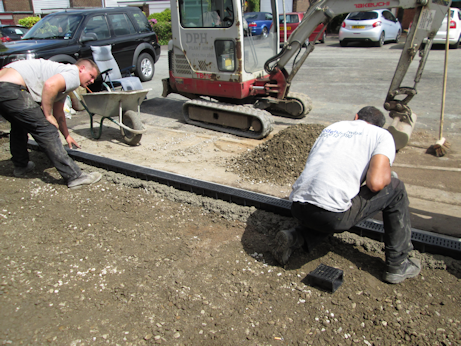
All projects have to be properly prepared before any concrete can be poured. This entails excavating the existing surface to an average depth of around 200mm.
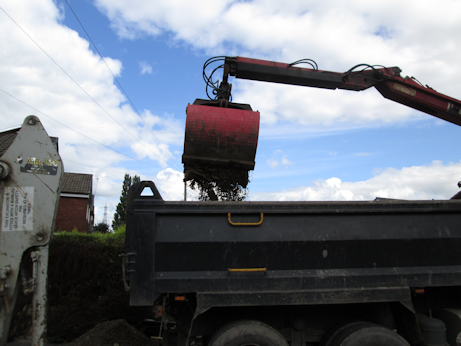
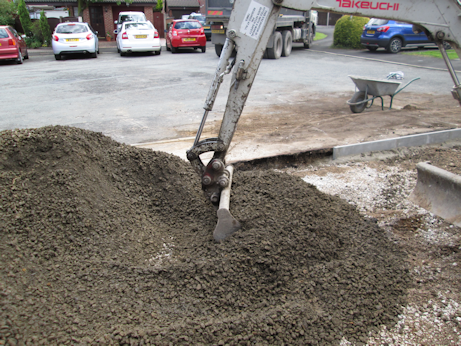
Excavation machines are used where required. As you can see from the photographs, the old surface material and any debris will be neatly stacked and removed by grab wagon.
We aim to use grab wagons wherever possible, as in the majority of cases we are able to remove the debris from site on the same day.
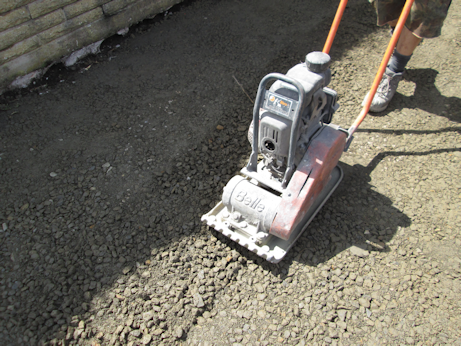
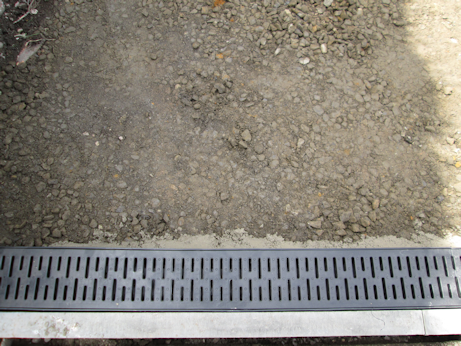
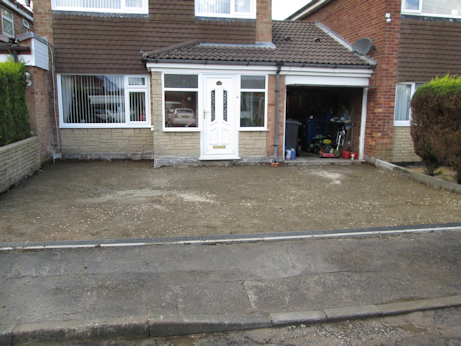
The required amount of hardcore, dependent upon the sub-base we find during excavation, will be delivered to site and spread across the area before being compacted with a vibroplating machine.
This will form a level, solid base on which to pour the concrete.
Stage 2: Installing and Imprinting the Concrete
We use a fibre-enmeshed, air-entrained concrete which, on completion, is 25–30% stronger than standard concrete. The fibres in the concrete enmesh together while the concrete cures; this is where the additional strength comes from. The air-entrainment chemical protects the concrete from future frost damage.
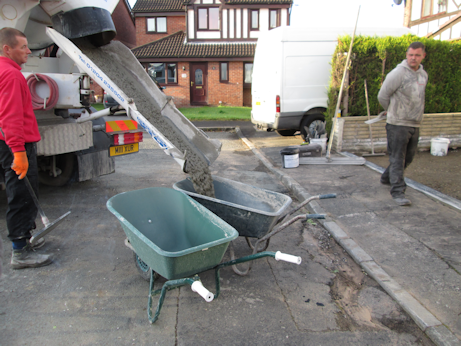
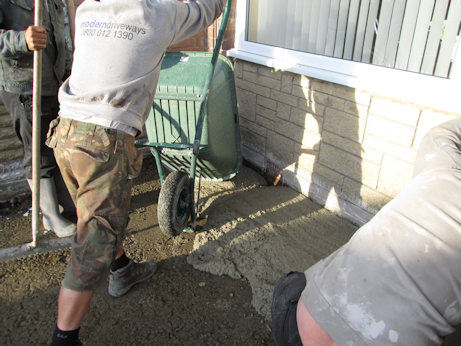
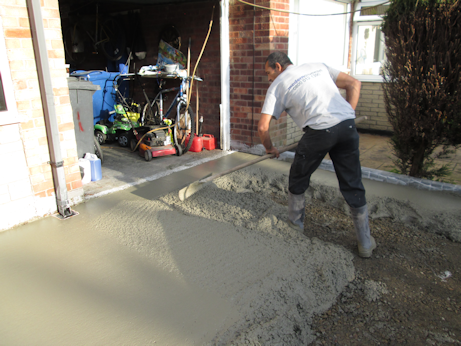
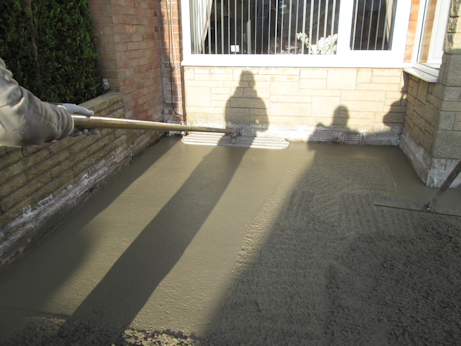
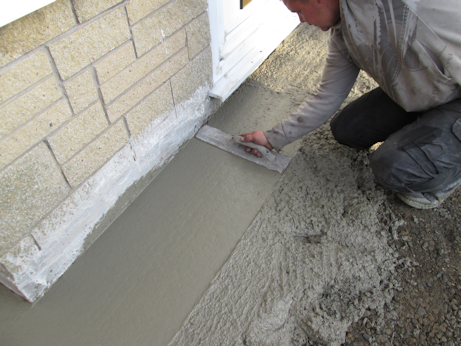
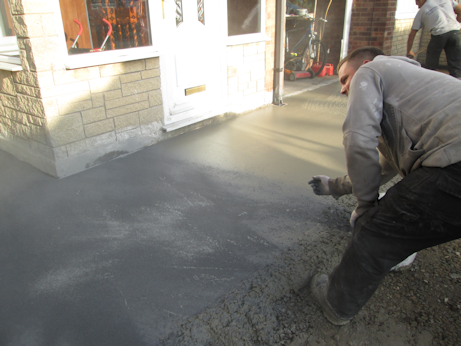
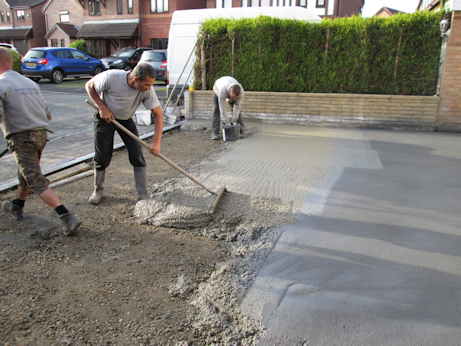
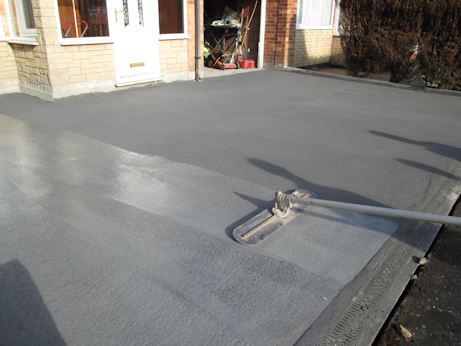
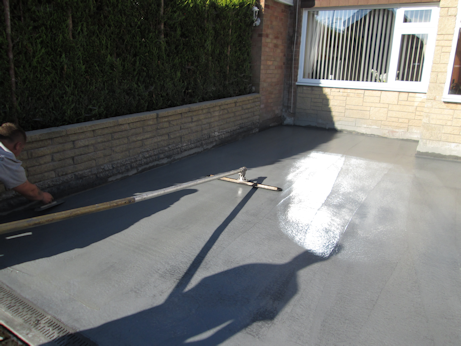
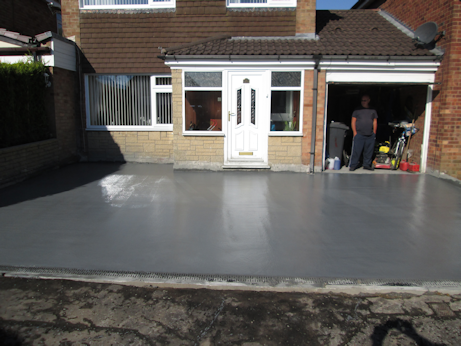
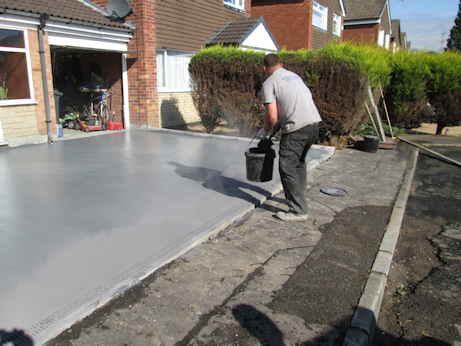
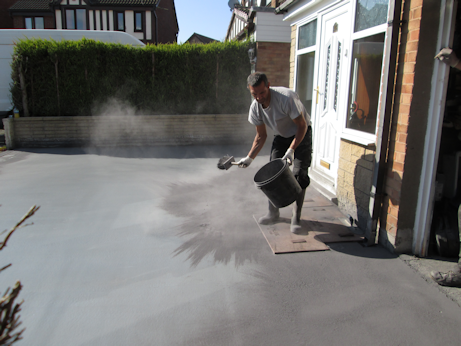
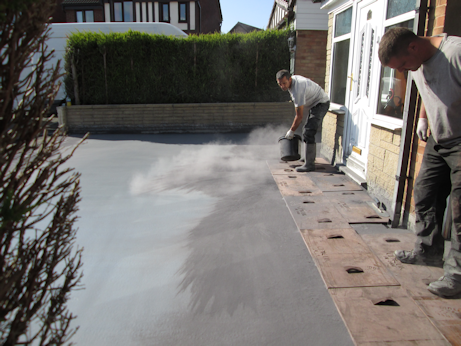
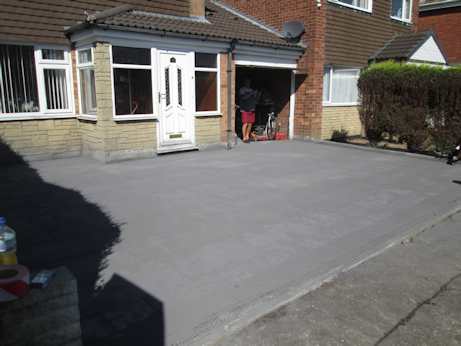
As you will see from the pictures, the concrete is barrowed in from the mixer, levelled with rakes and floated. Once the concrete has been floated, a colour surface hardener is spread over it in powder form and floated into the surface. This is the primary colour and permanently colours your concrete driveway.
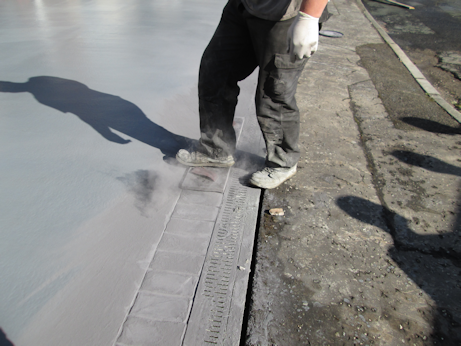
Once the colour has been floated in, we wait for the concrete to reach the correct consistency for imprinting. Once ready, a second colour powder, called a release agent, is spread over the surface of the concrete.
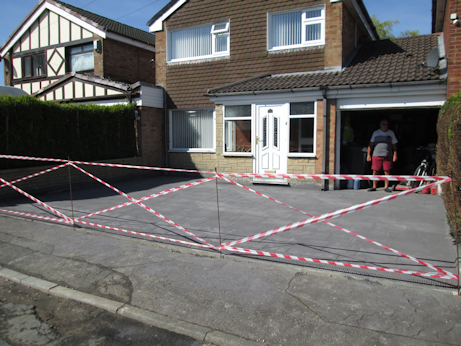
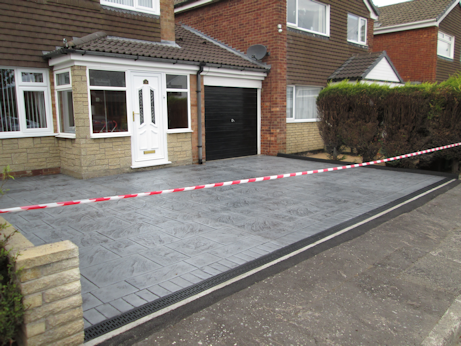
This release agent allows us to place the texture mats on the concrete and imprint the chosen pattern without the concrete sticking to the bottom of the mats. Once the concrete has been imprinted, we set up bunting around the perimeter to prevent people from walking on it.
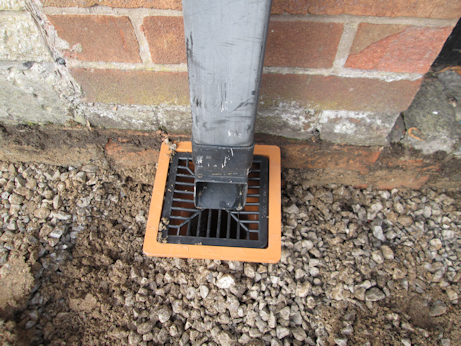
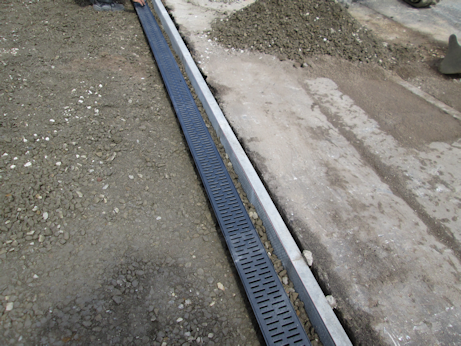
All shuttering, steps, flat-top edges, drainage, gulley tops and manhole covers are installed during the preparation process. We also apply wall gel to walls, doors and surrounding surfaces to protect them from concrete splashes.
We are now ready to pour the concrete.
Stage 3: Cutting and Cleaning
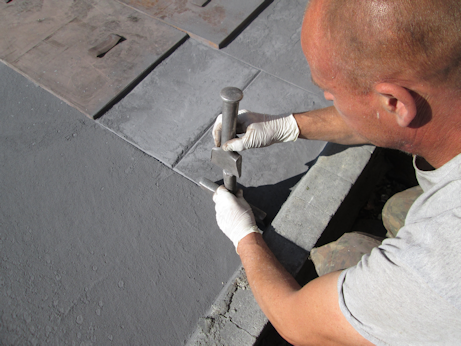
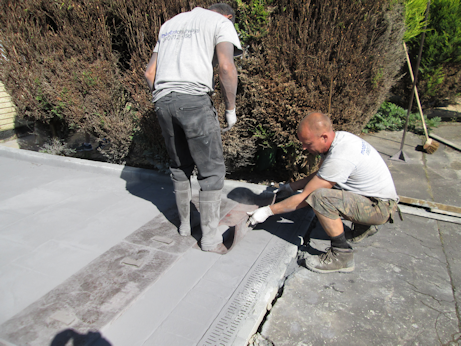
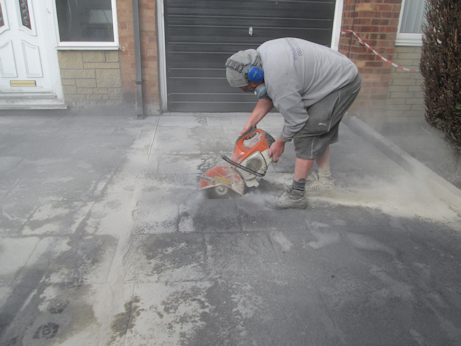
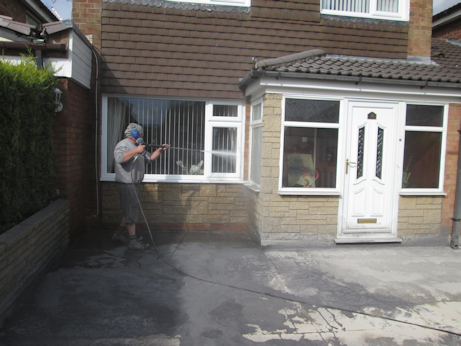
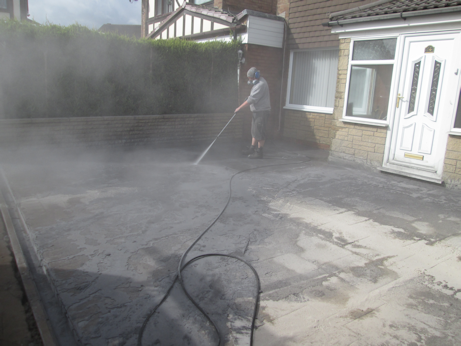
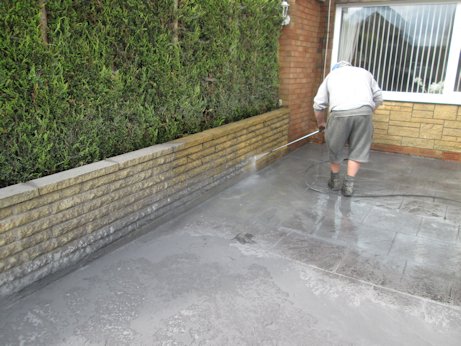
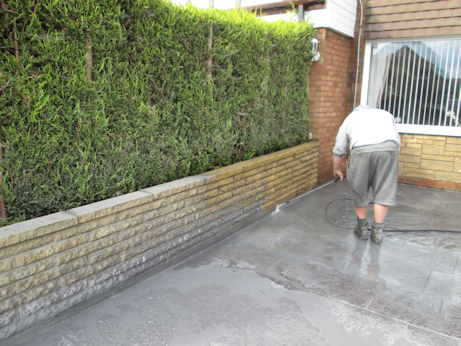
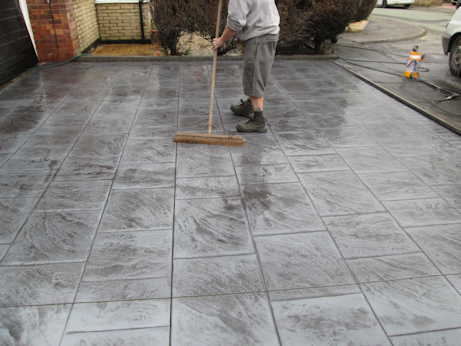
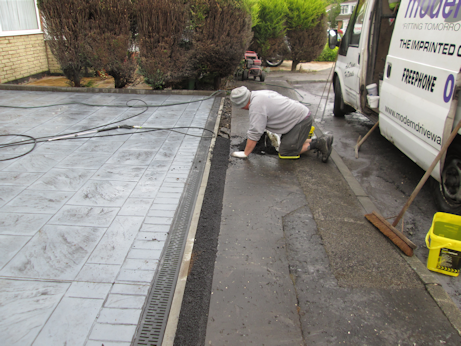
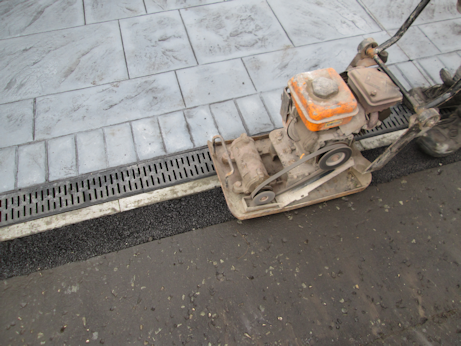
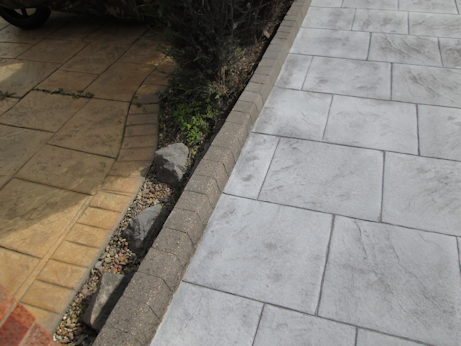
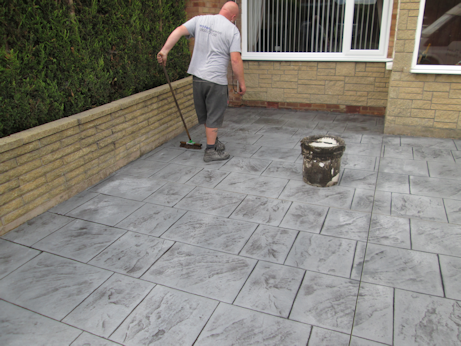
Concrete contracts and expands, so depending on the drying conditions, we will return to site either the following day or the day after that to install crack-control cuts into the concrete slab. The entire concrete slab and surrounding area are then power washed clean.
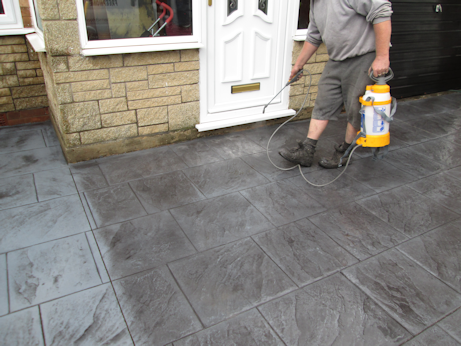
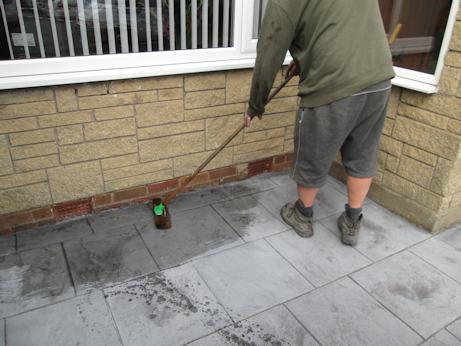
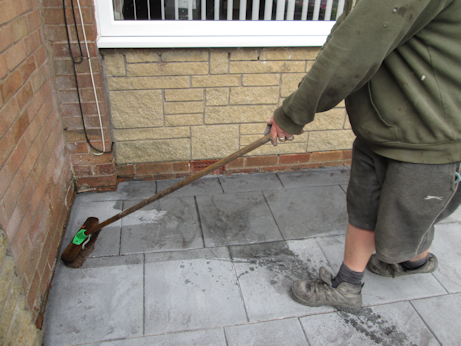
Notice how we use wall gel to enable us to clean walls down thoroughly. These are the white marks around the bottom of the walls in the photographs. A chemical wash is also used on the concrete to provide a thoroughly clean and dust-free surface.
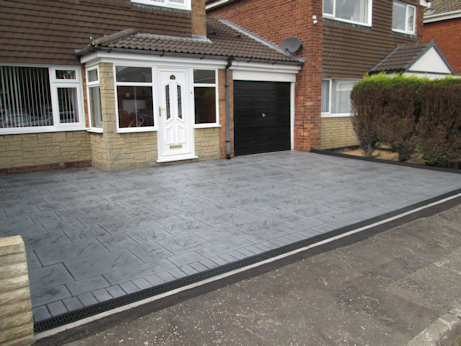
The tarmac pathway is made good and the driveway is now ready for sealing, but we have to wait for suitable weather. We need at least two dry days before returning to site to apply the sealant.
Stage 4: Sealing
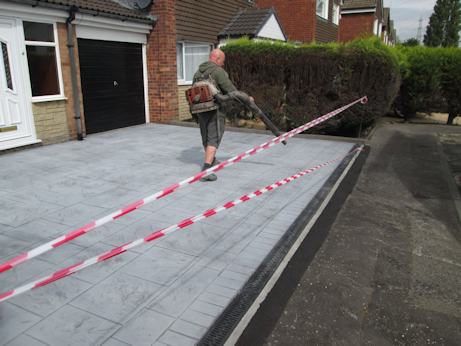
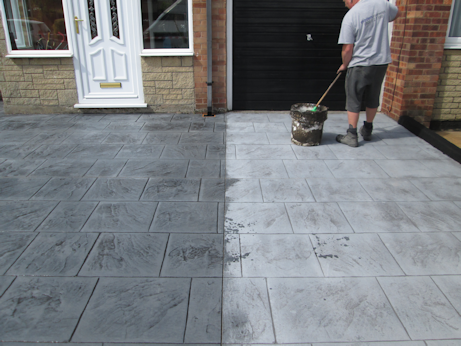
Before we seal the pattern-imprinted concrete, we blow any loose debris from the surface and dry any damp areas as necessary.
We then add an anti-slip agent to the acrylic-based sealant and apply the seal with brushes.
On completion of the sealing, we once again tape the area off so that no one walks or drives on it.
We recommend keeping cars off the concrete for four days after sealing to allow the sealant to set hard and bond properly with the concrete.
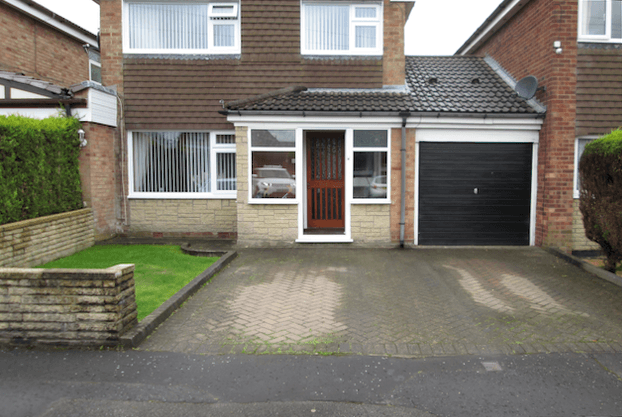 Before
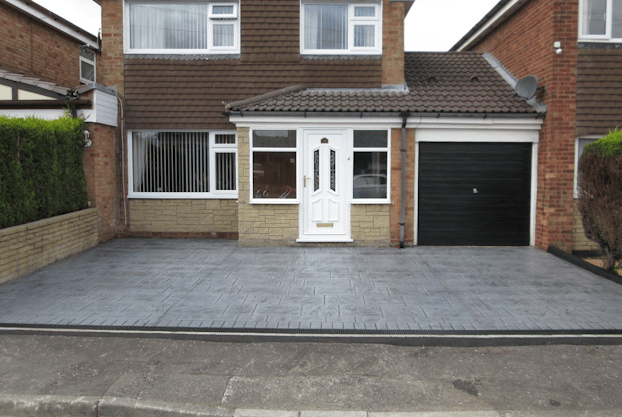 After
After
Homeowners choose Supreme Driveways for reliable workmanship, friendly service and long‑lasting results. From full driveway installation to cleaning, re-sealing and small touch‑ups, we provide honest advice, clear pricing and a finish that enhances your property’s kerb appeal.
Our team works with high‑quality materials and proven techniques to ensure every nw driveway and refurbished surface is strong, safe and visually appealing.
- Over 35 years experience
- Own fitting teams
- No salesmen
- Fully insured
- All work guaranteed
- Local installations to view